As I had so many messages, questions and comments when I posted some of these pictures to social media, I thought I would write a quick blog about the bedroom makeover we did for the girls.
We only actually redecorated their rooms just over a year ago, but after pestering us forever to move in together we finally caved this February and got them bunk beds. The plan was that they slept in Winnie’s original room and used Polly’s as a play room, but up to yet the playing still takes place primarily in the lounge! Who wants a tidy house anyway? (me!!!)
Anyway, as we weren’t sure how well the whole room sharing lark would go we didn’t change anything other than the bed. In actual fact they both sleep much better together (the reassurance of having someone there seems to really calm them) so we decided it was time to make the room theirs.
After some time scouting Pinterest together (and by some time’ I actually mean weeks as Winnie cannot make a decision!) they decided on a ‘Happily Ever After’ themed room. Now I love Disney and being there fills my heart with happiness, but if you visited my house you really wouldn’t know as there is no Disney decor anywhere to be seen other than a Tinkerbell ornament on one of the bookshelves bought for me by my dad as that’s his nickname for me! I love my girls but a full on Mickey wall mural just isn’t my thing (mainly because they’ll likely want it changing again in a few years), so we worked together to come up with something both they and miserable mummy were happy with!!
Their final list of requirements consisted of the following:
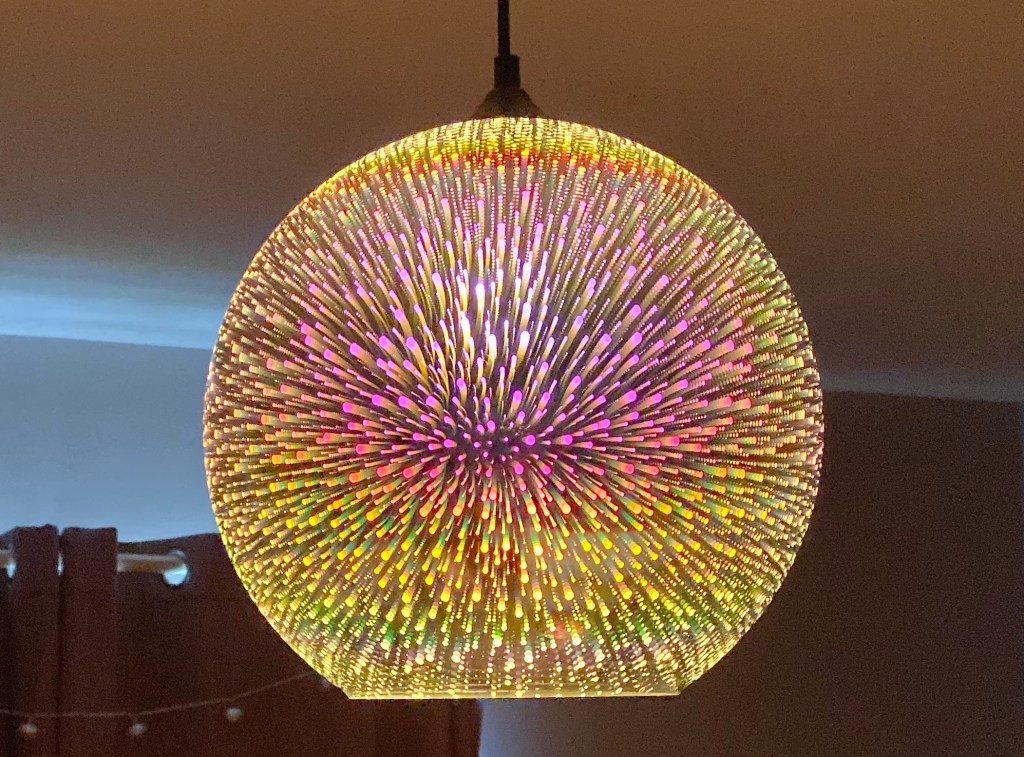
- Fireworks light
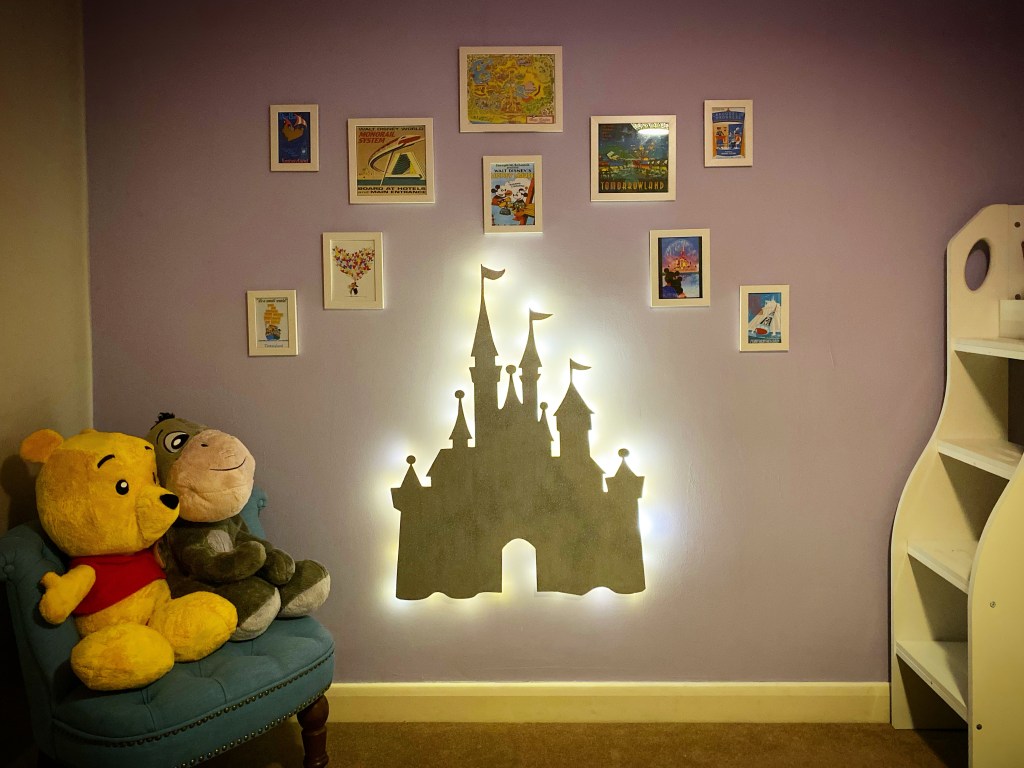
- Magic Castle (as they call it) nightlight
- An assortment of Disney posters/ signs/ postcards
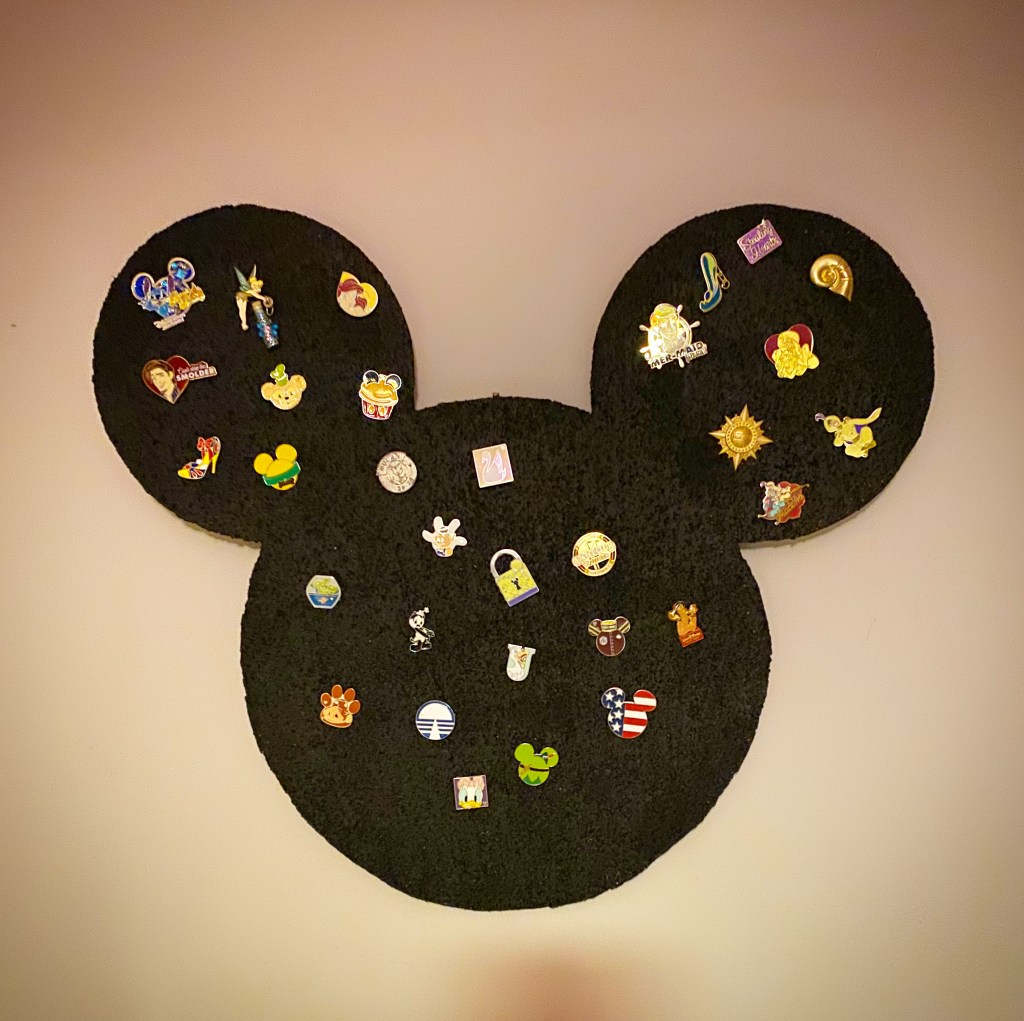
- A Mickey Head pinboard
- Spotty duvet covers to commemorate Mickey/ Minnie celebration outfits
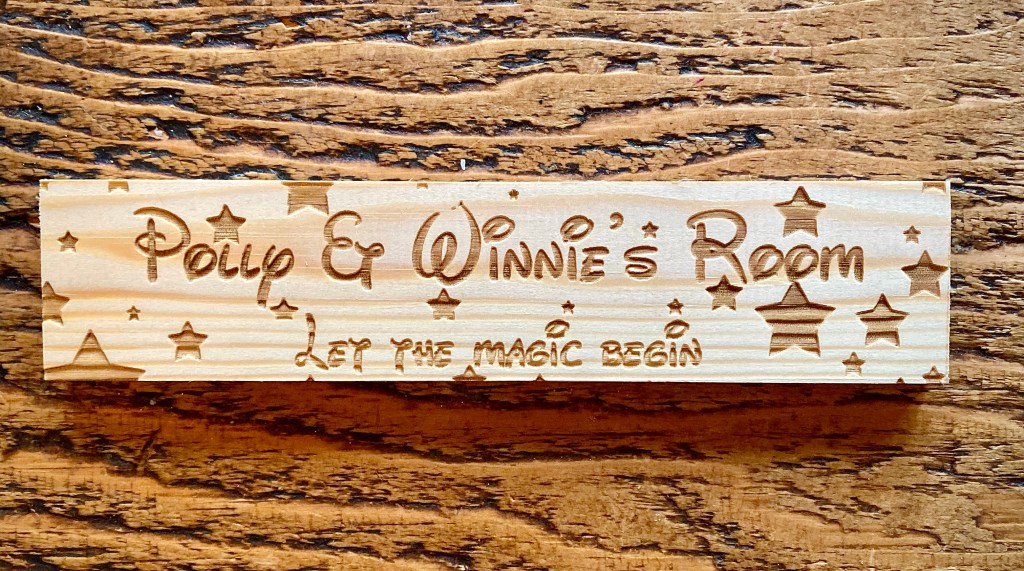
- A Disney door sign
I found the perfect duvet covers at Zara in their home section (and as they were in the sale it was even better!) so they were the first purchase.
The firework ceiling lamp we found one on Amazon. We were a little worried as shipping estimate was around a month implying it came from a land faraway, but it arrived brilliantly packaged and perfectly intact. I absolutely love the effect it has, and with the dimmer switch they have in their room it looks even better.
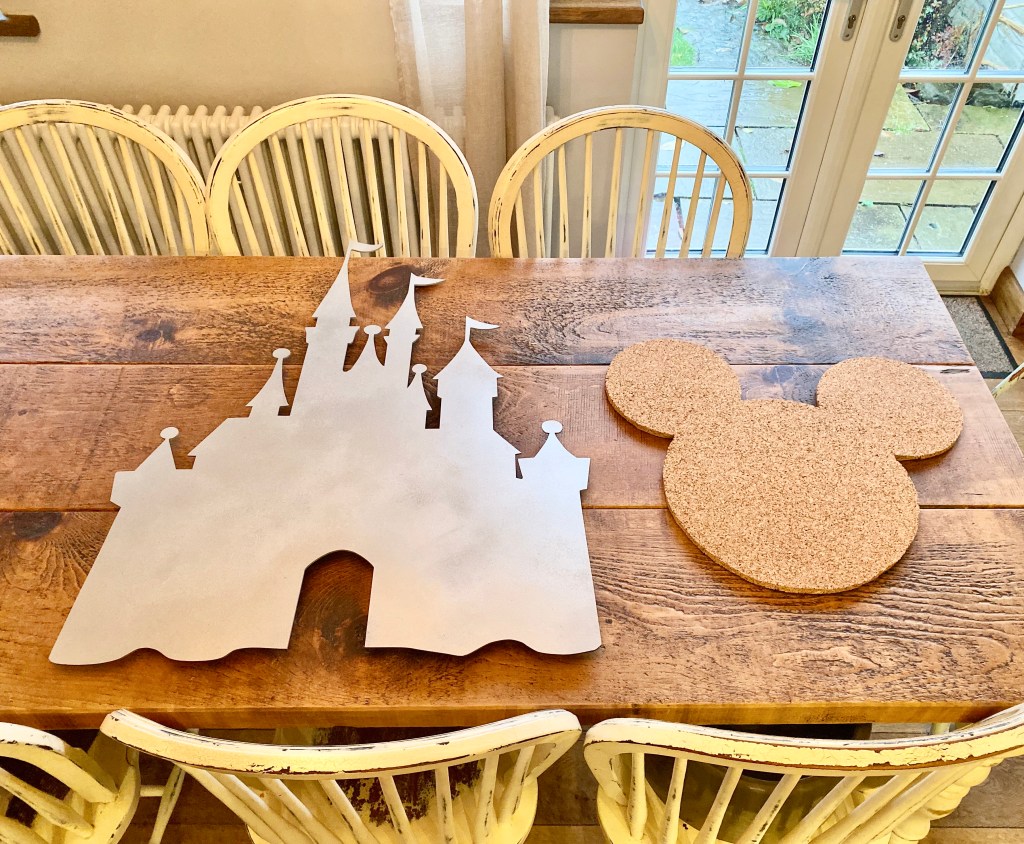
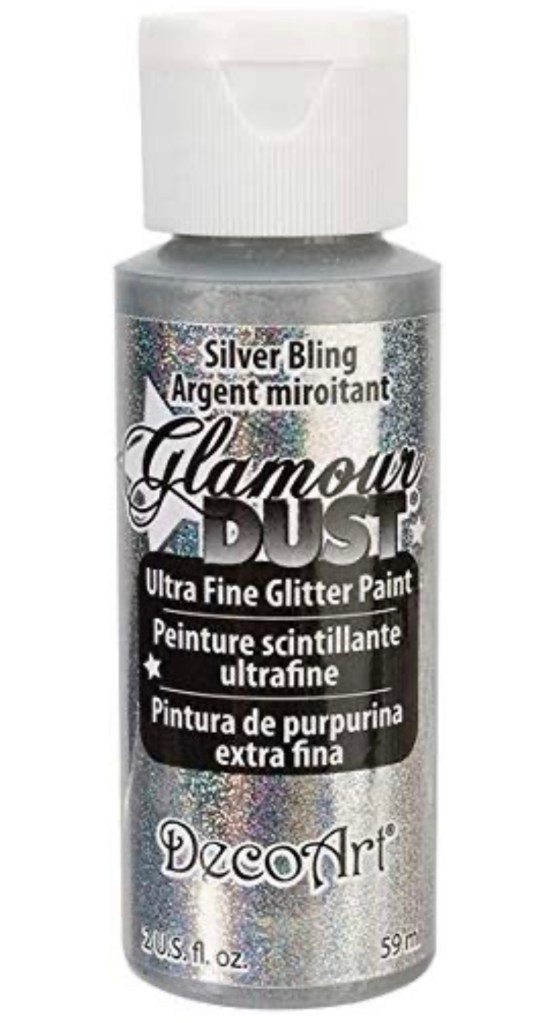
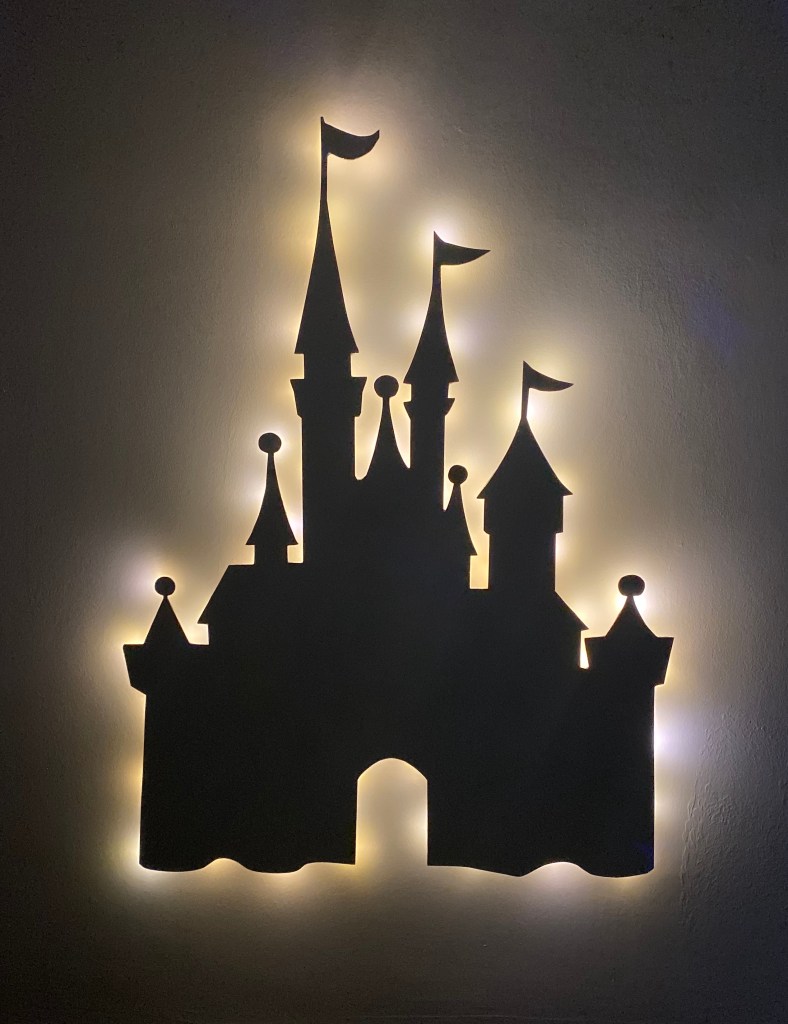
I came up with an idea for a backlit castle to hang on the wall. In my head I had it nailed, but in reality sourcing an MDF castle cut out big enough proved tricky. Eventually I found a local firm who agreed to cut one out for me. Steve added two vertical batons the same width as the battery pack on the fairy lights I was using to the back of the castle for hanging it. I then spray painted it silver before adding 4 topcoats of glitter paint to make it extra sparkly.
I used a glue gun to stick the battery pack onto the back (making sure the side that opens wasn’t stick down) and then stuck the lights about 2cm from the edge of the castle, again on the back. I had a few burnt fingertips but I love the result. In hindsight, I maybe should have used plug in lights as the girls keep it on all night, but I can always change them at some point.
The Mickey pinboard proved impossible to source so I again got crafty. I bought a roll of 8mm cork big enough to allow for mistakes!
(This is the affiliate link to the roll I used but there are lots to choose from:
https://amzn.to/34iNS2X
I used 2 plates and a toy storage tub lid to draw the shape. I then used a craft knife to carefully cut around the edge (with a cutting mat underneath!)
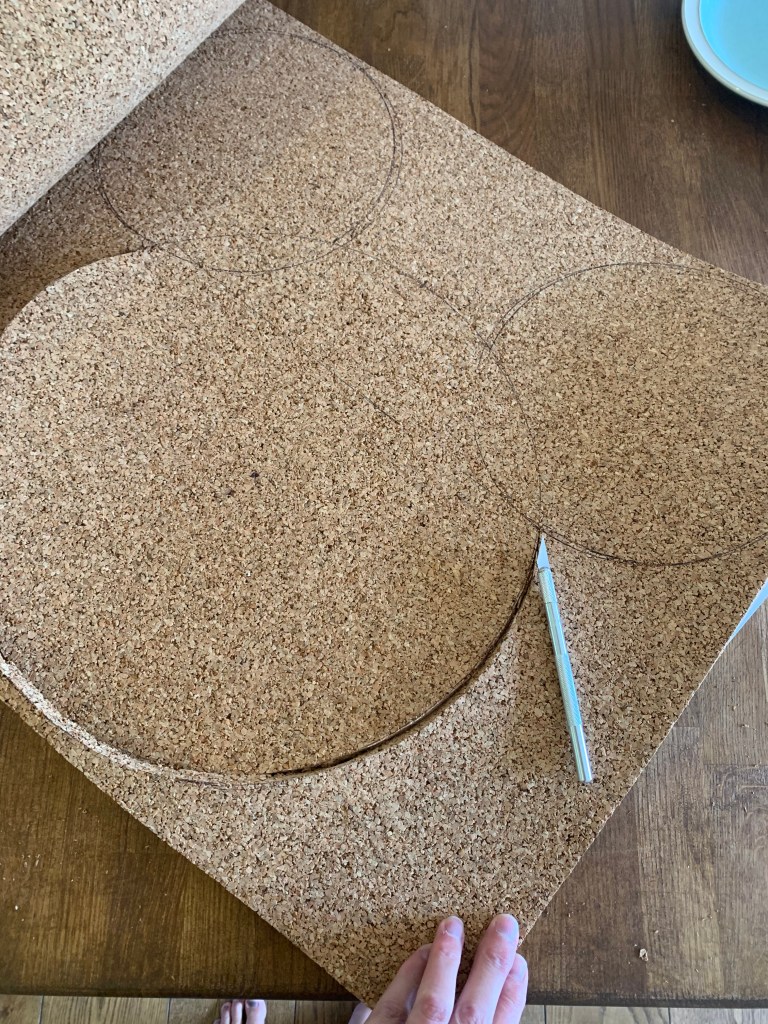
I wasn’t sure how neat it would turn out, but even with my slap dash technique it turned out pretty well! Once cut out, Steve made a backing out of plywood and after sticking it together I painted with two coats of blackboard paint.
The pictures were ones we’d picked up from various places over the years. I bought a set of different sized frames (this is the affiliate link to the ones I have but there are loads of choices:
https://amzn.to/2QNjkT2
I scanned the pictures into the computer and resized to fit the frames before printing them out. I am so pleased with how these turned out although the measuring out and hanging of them was tough!
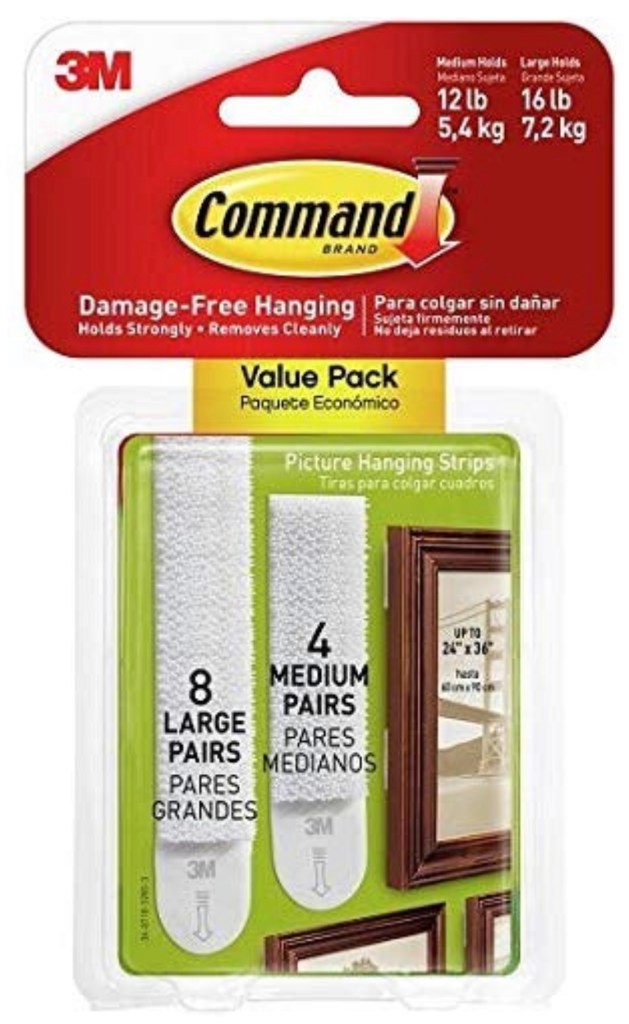
These picture hanging stick on pads are amazing though and I will be using them for everything from now on!
(Affiliate link) https://amzn.to/37xTHLX

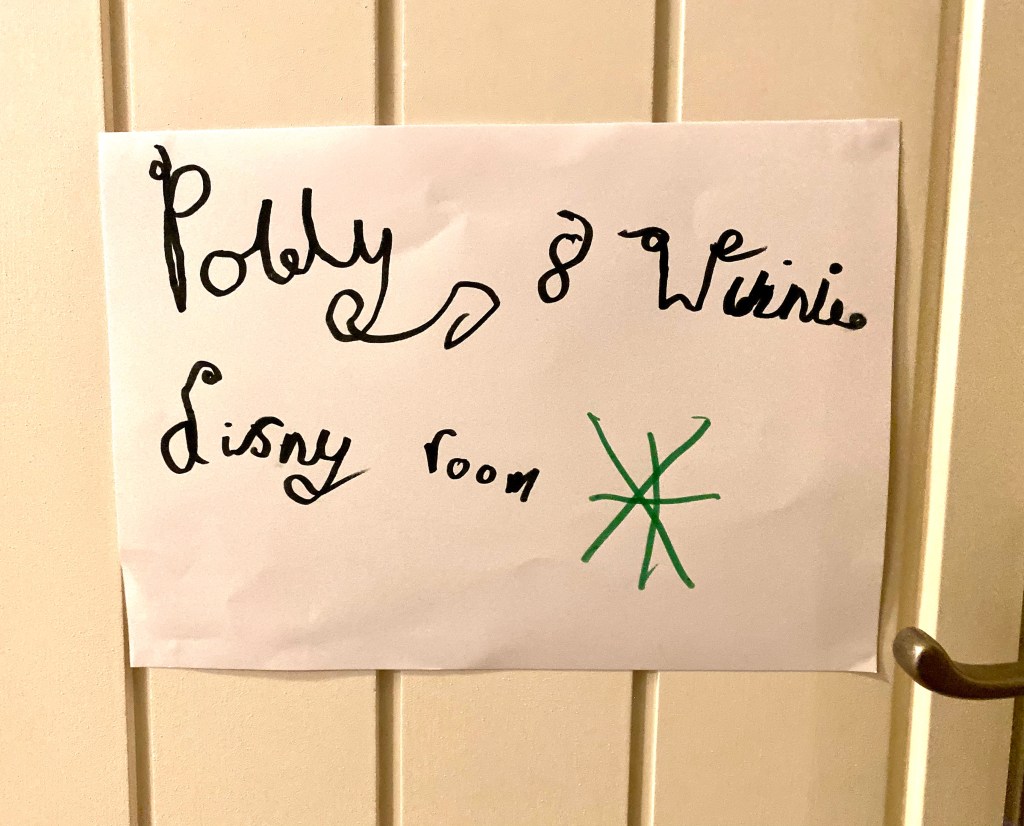
We still have a few bits to finish off including the door sign (although Winnie made her own temporary one. She apparently used the Disney font!!) but we all love the room now. And the best bit is that the girls sing ‘Happily Ever After’ every night before going to sleep.
Little do they know that we’ll be back for the real Happily Ever After very soon! I’m so excited! 🤫
Edit:
The new bedroom door plaque just this minute arrived from Cutncraft-designs so I thought I’d share as it’s perfect!